Hexo搭建博客

1.前言

  1. 很早之前就有搭建自己博客的想法,奈何之前太懒每次都拖延没去搞,最近突然悟出了什么开始恶补编程基础知识,逛B站时候无意间看到了Codesheep的视频,搞了7个小时终于是搭建起来了。

  2. 搭建的过程肯定是不会一番风顺的,我自己都搞了那么久,如果搭建过程中遇到任何困难,建议先自己用CSDN,GitHub,百度,Google各大平台区解决,如果实在无法解决可以CSDN私信我,我有空看到会第一时间回复。

2搭建工具

Git工具
Nodejs
Github仓库

3.本地部署

本地部署步骤均基于CMD,建议用管理员模式运行,减少出错

3.1检查版本号,确保安装成功

1
2
node -v
npm -v

3.2安装cnpm管理器

1
2
npm install -g cnpm --registry=http://registry.npm.taobao.org
cnpm -v

3.3安装hexo框架

1
2
cnpm install -g hexo-cli
hexo -v

3.4创建博客目录:blog

1
2
3
4
5
6
E: #进入E

mkdir blog #创建blog目录

CD E:blog #进入blog文件夹

3.5 初始化博客

1
hexo init

3.6 hexo基本命令

1
2
3
4
5
6
7
8
9
10
11
hexo s # 开启hexo服务

hexo n "这里输入一篇博客的名字"

hexo clean # 清理所有东西

hexo g #生成文件

https://localhost:4000 # 博客本地地址

Ctrl+C # 控制台停止博客服务器

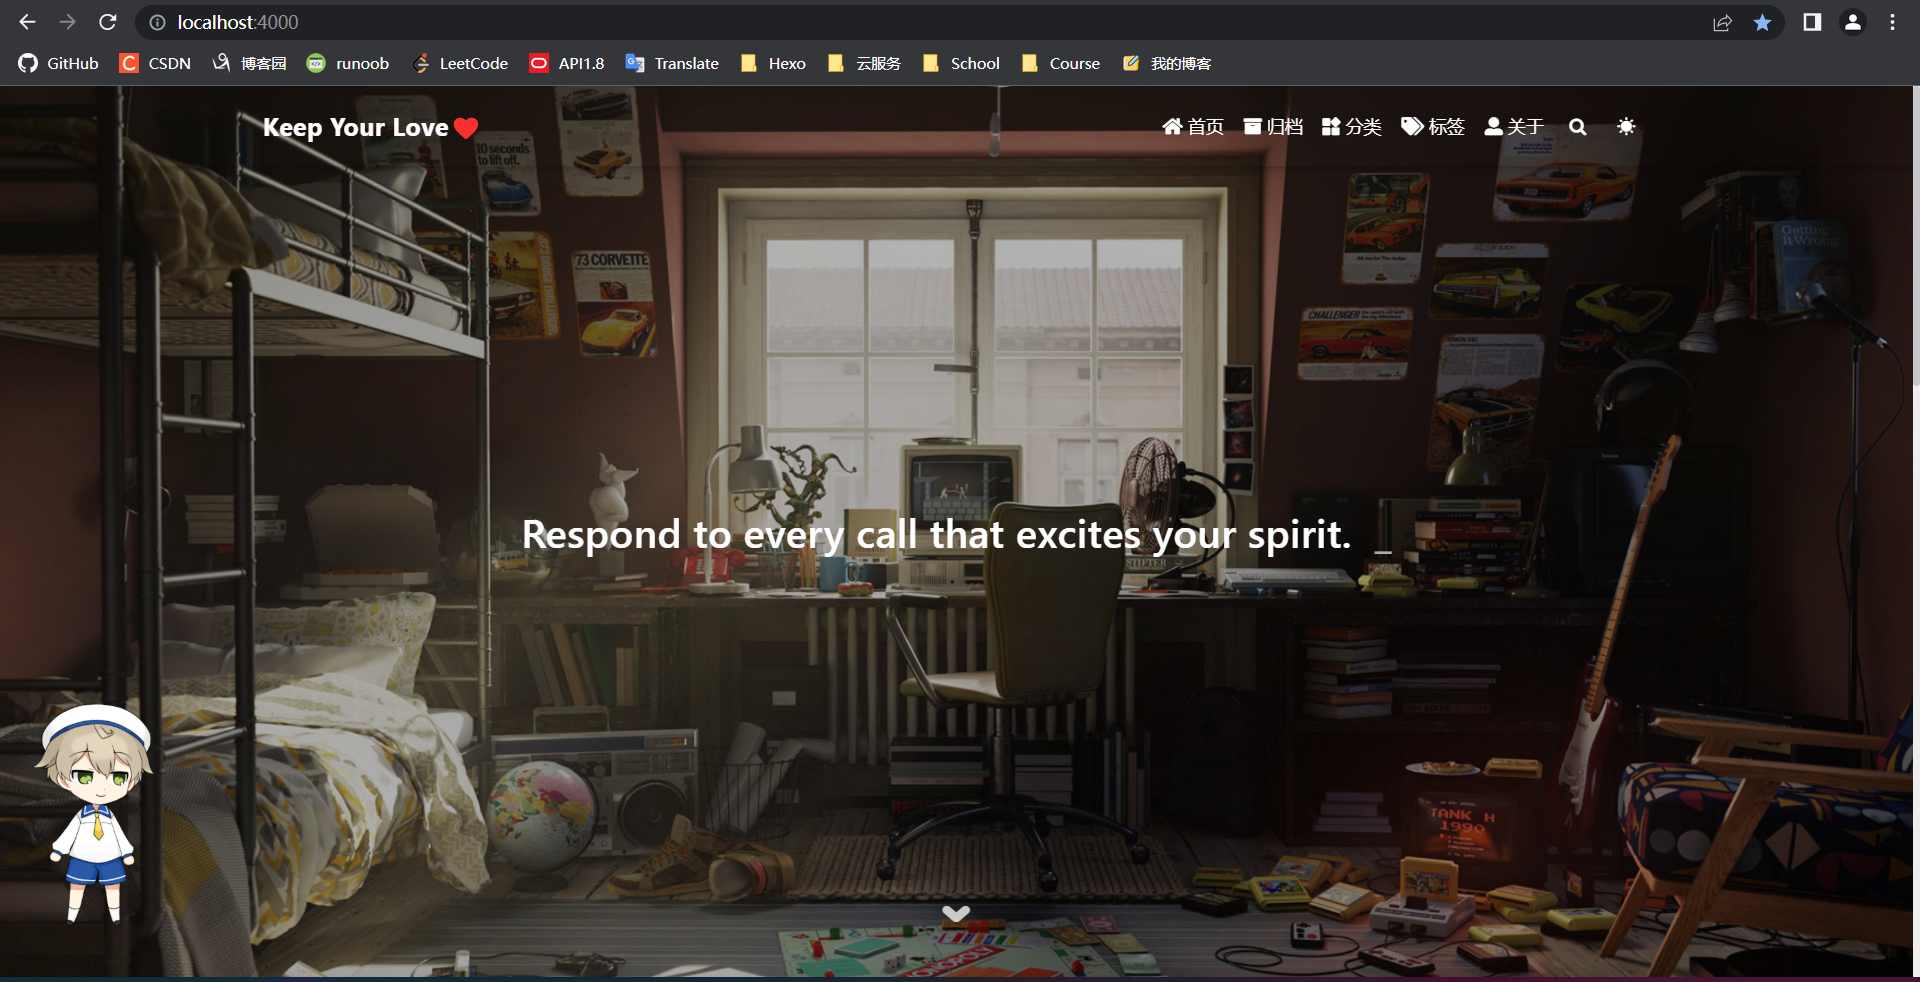
通过localhost:4000访问,我是加了主题和你们不一样,只要能进去就可以

4.Github部署

仓库部署均基于GitBash管理员模式,减少出错

4.1创建GitHub仓库

你github的名称.github.io

4.2安装git部署插件

1
2
3
CD /E:/blog	#进入E盘blog文件夹

cnpm install --save hexo-deployer-git

4.3配置config.xml

1
2
3
4
5
6
7
deploy:

type: 'git'

repo: 'git@github.com:你GitHub名称/你GitHub名称.github.io.git'

branch: master

4.4上传到Github

1
2
3
4
5
hexo clean

hexo g

hexo d

4.5联机访问

浏览器输入:你github的名称.github.io 即可访问你的博客

5.主题配置

  1. 以fluid主题为例子,gibash输入以下命令到blog文件夹

  2. clone后的链接可以是你自己找的github项目,可以在hexo官网文档查看其他主题

    1
    git clone https://github.com/fluid-dev/hexo-theme-fluid
  3. 修改blog目录下的config.xml文件: theme: landscape换为theme: fluid

  4. hexo clean hexo g hexo d 三连部署即可

  5. 然后就可以通过https://你github的名称.github.io 去访问你的博客了

6.命令解释

1
2
3
4
5
6
7
8
9
10
11
12
13
14
15
hexo n ""

hexo s //启动hexo本地预览

hexo clean //清除缓存

hexo g //部署文件

hexo d //推送到github

-v //查看软件版本号

Ctrl+c //当你hexo s预览过你的网页后,在命令台输入退出

git clone 链接 //克隆github文件到你本地

7.搭建文档

Fluid博客
FluidGithub
Fluid官方文档
HEXO官方文档
CodeSheep视频文档


Hexo搭建博客
http://example.com/2022/04/01/Hexo博客/Hexo搭建博客/
Author
John Doe
Posted on
April 1, 2022
Licensed under